Buttermilk Crepes: Amazing Thin & Tender, Makes 8
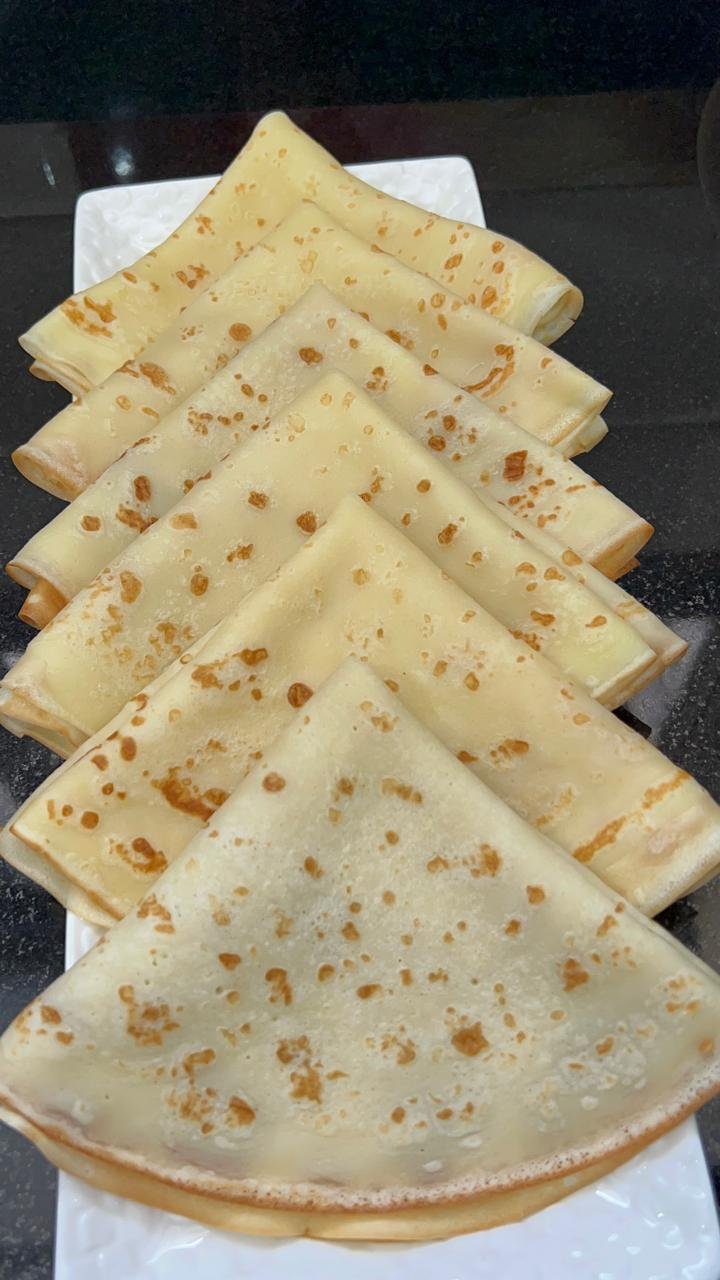
These buttermilk crepes come off the pan thin, lacy and tender, with those little golden freckles that mean the heat was just right. The buttermilk is what sets them apart from a plain crepe – it makes the batter slightly tangy and the finished crepe softer, so it folds without cracking. I make a big stack of these when the kids want something sweet in the morning, and between four of them the plate empties fast. You get eight large crepes from one batch, ready to fill with chocolate spread, fruit, or whatever is in the fridge.
Why You’ll Love These Buttermilk Crepes
- The buttermilk makes them tender. The slight acidity relaxes the batter, so the crepes stay soft and fold without tearing even when they cool.
- Thin and lacy, not thick. This batter pours thin and swirls to coat the pan, giving you delicate crepes rather than heavy pancakes.
- One batch makes eight large crepes. Enough for a family breakfast, and they reheat well if you have any left.
- Endlessly fillable. Sweet with chocolate spread and fruit, or savory with cheese – the same crepe works both ways.
Ingredient Notes
| Ingredient | What to know |
|---|---|
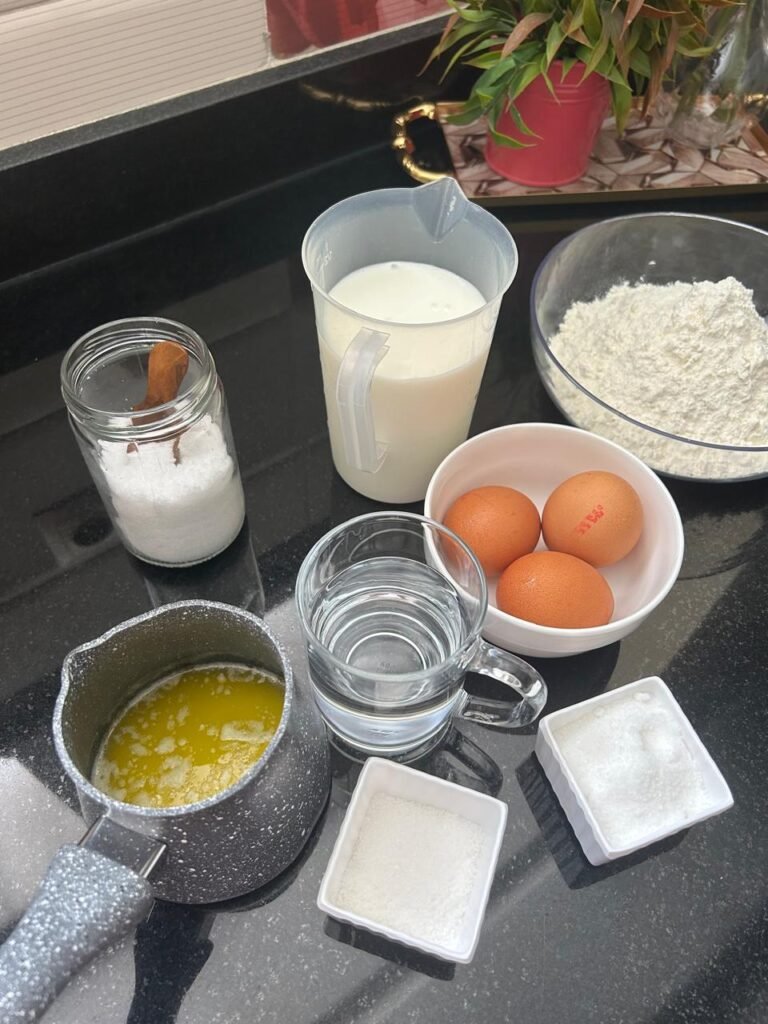
| Buttermilk | Real buttermilk gives the best flavor and tenderness. If you cannot find it, make your own: add 1 tablespoon of lemon juice or white vinegar to 2 cups of milk and let it sit 5 minutes until slightly thickened. |
| Melted butter | Let it cool slightly before adding it to the batter. Hot butter poured into the eggs can start to cook them. The butter in the batter is what stops the crepes sticking, so do not skip it. |
| All-purpose flour | Measure it by spooning it into the cup and leveling off, rather than scooping. A packed cup adds too much flour and gives you thick, heavy crepes instead of thin ones. |
| Water | The water thins the batter beyond what buttermilk alone would do. It is what makes these crepes lacy rather than pancake-like. Do not leave it out. |
How to Make Buttermilk Crepes – Step by Step
Whisk the eggs, salt, sugar and vanilla first. Beat them together until the sugar starts to dissolve (see photo). Starting with the eggs and sugar alone means the sugar distributes evenly through the batter instead of sinking.
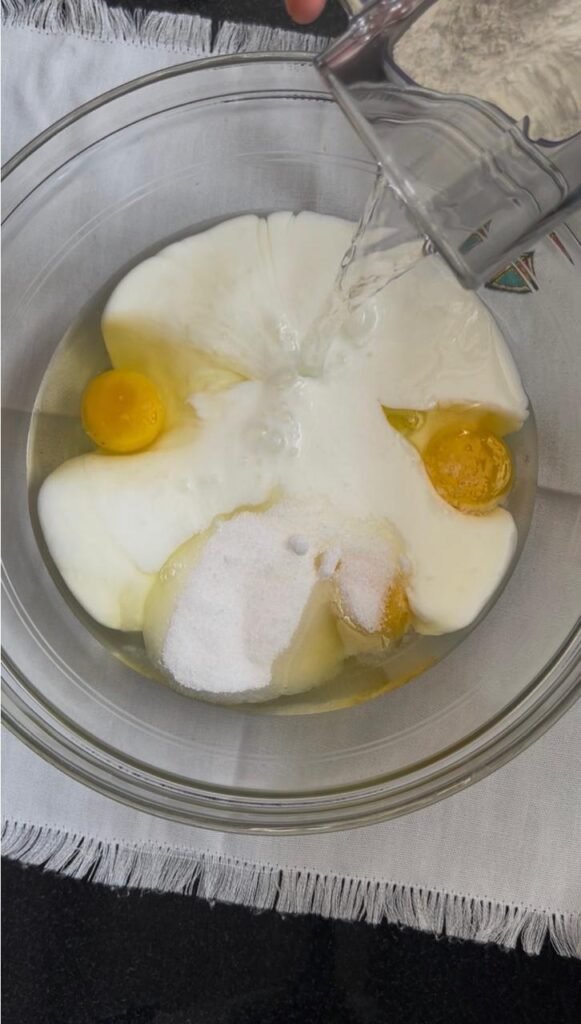
Add the buttermilk and water. Pour them in and whisk until fully combined (see photo). The batter will look thin at this stage – that is correct. Thin batter is what gives you delicate crepes.
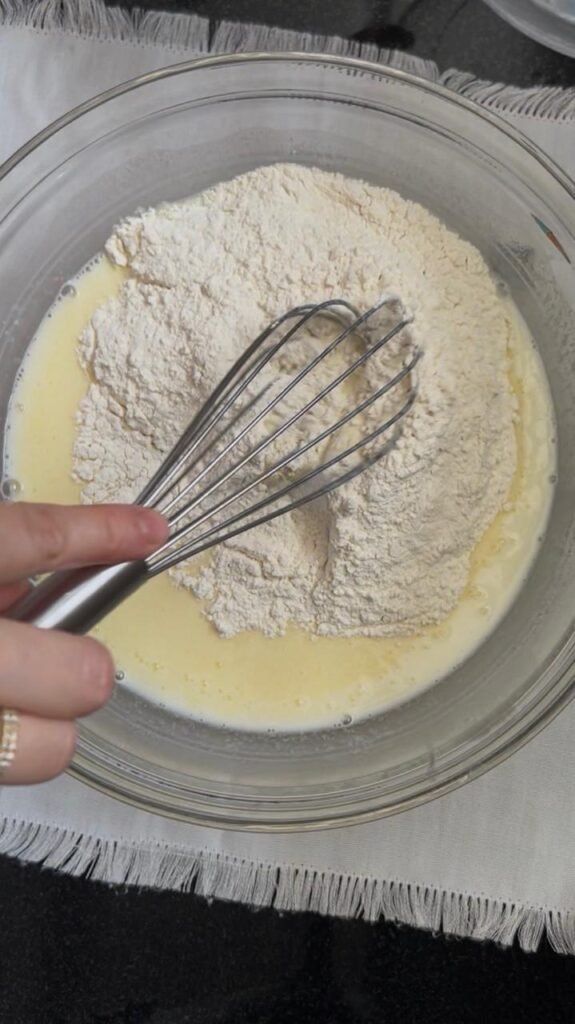
Add the flour gradually, then blend. Whisk the flour in a little at a time to avoid lumps (see photo). For the smoothest result, blend the whole batter in a mixer or blender for a few seconds – this breaks up any remaining lumps completely and gives you a silky batter that pours evenly. It is the single easiest way to guarantee smooth crepes.
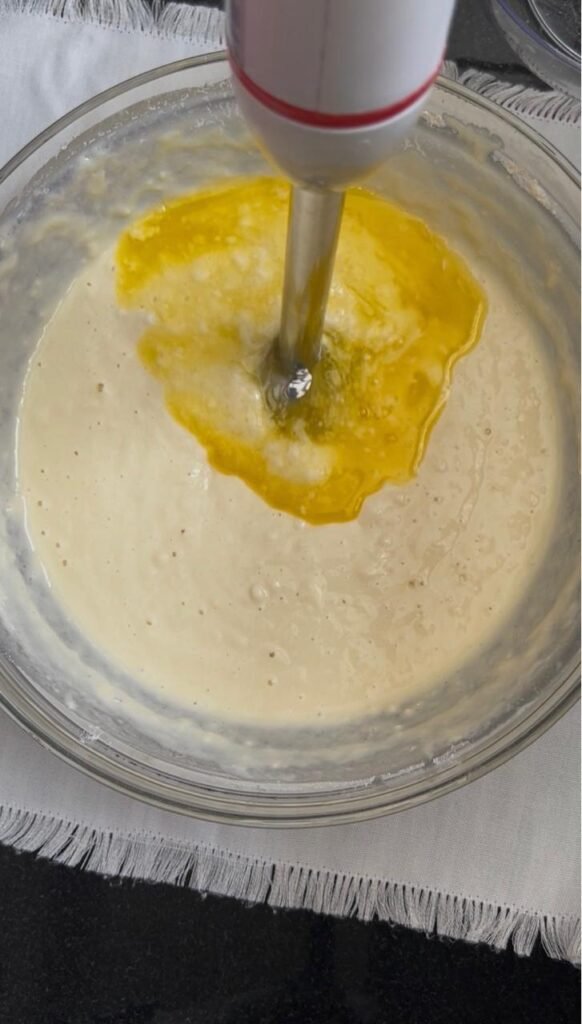
Stir in the melted butter and rest the batter. Blend in the cooled melted butter until the batter is uniform (see photo). Let it rest for 15 minutes before cooking. This resting time lets the flour absorb the liquid and relaxes the gluten, which is the difference between a tender crepe and a rubbery one.
Cook on medium heat, one ladle at a time. Heat a non-stick skillet over medium, pour in a ladleful, and immediately swirl the pan to coat the bottom in a thin even layer (see photo). The faster you swirl, the thinner and rounder the crepe.
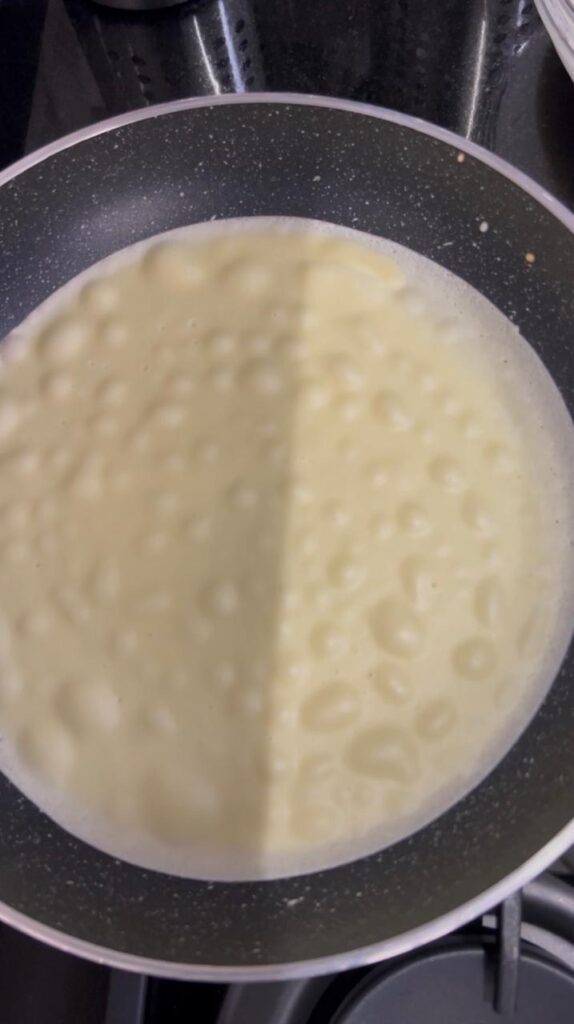
Flip when the edges lift. Cook for 1 to 2 minutes until the edges start to release and the bottom is golden with freckles (see photo), then flip and cook the other side briefly. The second side cooks faster than the first and stays paler – that is normal.
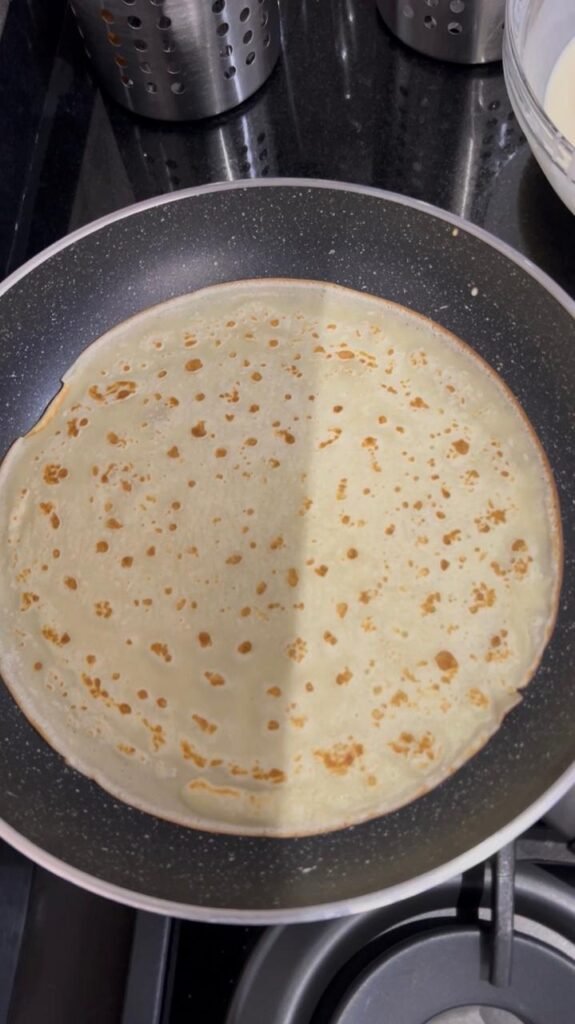
Stack them as you go. Pile the finished crepes on a plate (see photo). Stacking keeps them warm and soft; the steam between them stops the edges drying out.
My Top Tips for the Best Buttermilk Crepes
- Blend the batter, do not just whisk it. A few seconds in a mixer or blender gives a completely lump-free batter that whisking alone rarely achieves.
- Rest the batter 15 minutes minimum. Skipping this is the most common reason crepes turn out tough. The flour needs time to hydrate.
- The first crepe is a test. The first one almost always comes out wrong while the pan finds its temperature. Do not worry, adjust the heat, and keep going.
- Swirl fast and low. Tilt the pan in a circle the moment the batter hits it. Wait too long and it sets before it spreads, leaving you with a thick patch in the middle.
- Keep the heat at medium. Too high and the crepe browns before it cooks through; too low and it goes dry and leathery instead of tender.
Rest the batter for 15 minutes before you cook. It feels like a waste of time when the batter looks ready, but this is what lets the flour absorb the liquid and gives you tender crepes instead of rubbery ones.
Common Problems and Fixes
Why are my crepes rubbery?
Usually too much flour or not enough rest. Measure the flour by spooning and leveling rather than scooping, and let the batter rest at least 15 minutes so the gluten relaxes. Overmixing after the flour goes in can also toughen them.
Why do my crepes tear when I flip them?
They were flipped too early or spread too thin in spots. Wait until the edges visibly lift and the surface looks set before flipping, and use a thin spatula to loosen the whole crepe first. A little more butter in the pan helps too.
Why is my first crepe always a failure?
This happens to everyone. The pan has not reached its steady temperature yet and the fat has not fully coated the surface. The first crepe is your test – adjust the heat based on how it cooked and the rest will come out right.
Can I make the batter ahead of time?
Yes. The batter actually improves after resting in the fridge for a few hours or overnight, as the flour hydrates fully. Whisk it briefly before cooking, as it will separate slightly, and add a splash of water if it has thickened.
Storage and Make-Ahead
Cooked crepes keep in the fridge for up to 3 days, stacked with a piece of parchment between each one so they do not stick, in an airtight container. Reheat them briefly in a dry pan or microwave for a few seconds. They also freeze well: stack with parchment, wrap tightly, and freeze for up to 2 months. The batter can be made a day ahead and kept in the fridge, which actually makes the crepes more tender.
FAQ
Can I make buttermilk crepes without buttermilk?
Yes. Add 1 tablespoon of lemon juice or white vinegar to 2 cups of regular milk and let it sit for 5 minutes until slightly thickened. It will not be identical to real buttermilk but gives you the same tang and tenderness in the finished crepes.
What is the difference between crepes and pancakes?
Crepes are much thinner and made with a runnier batter that has no leavening, so they stay flat and lacy. Pancakes use a thicker batter with baking powder to rise. Buttermilk crepes are tender and foldable, while pancakes are fluffy and thick.
Do I have to let the batter rest?
It is strongly recommended. Resting for at least 15 minutes lets the flour absorb the liquid and relaxes the gluten, which gives tender crepes. If you skip it, the crepes are more likely to come out chewy or rubbery rather than soft.
What can I fill buttermilk crepes with?
Chocolate hazelnut spread and sliced fruit are the classic sweet options. They also work with jam, honey and yogurt, or savory fillings like cheese and ham. The lightly sweet batter suits both directions without changing the recipe.
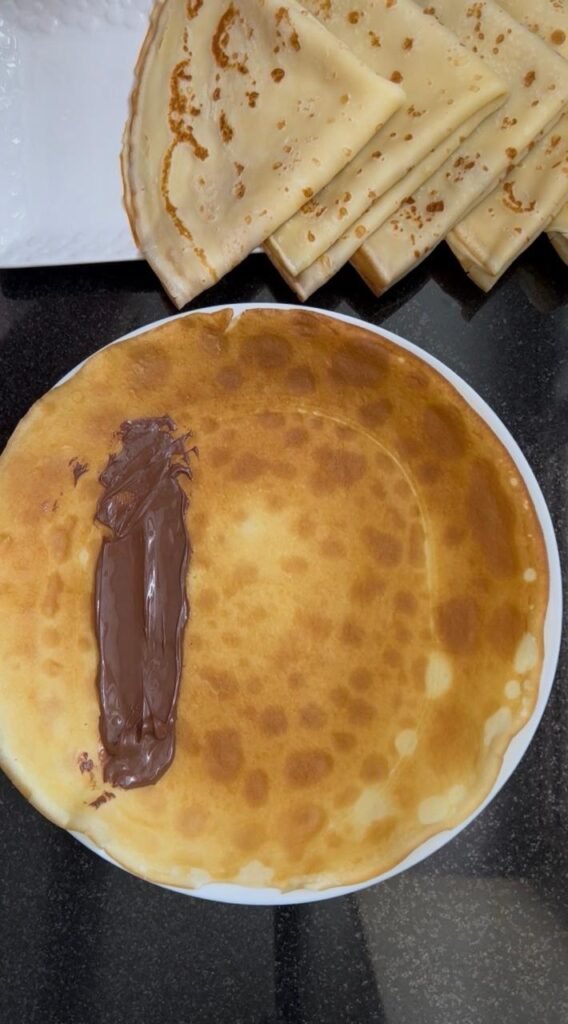
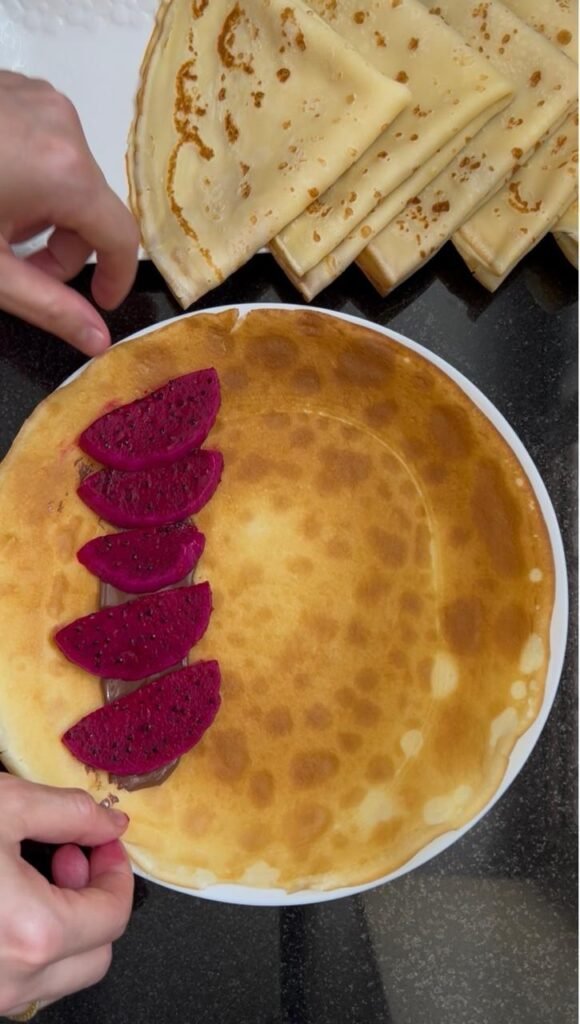
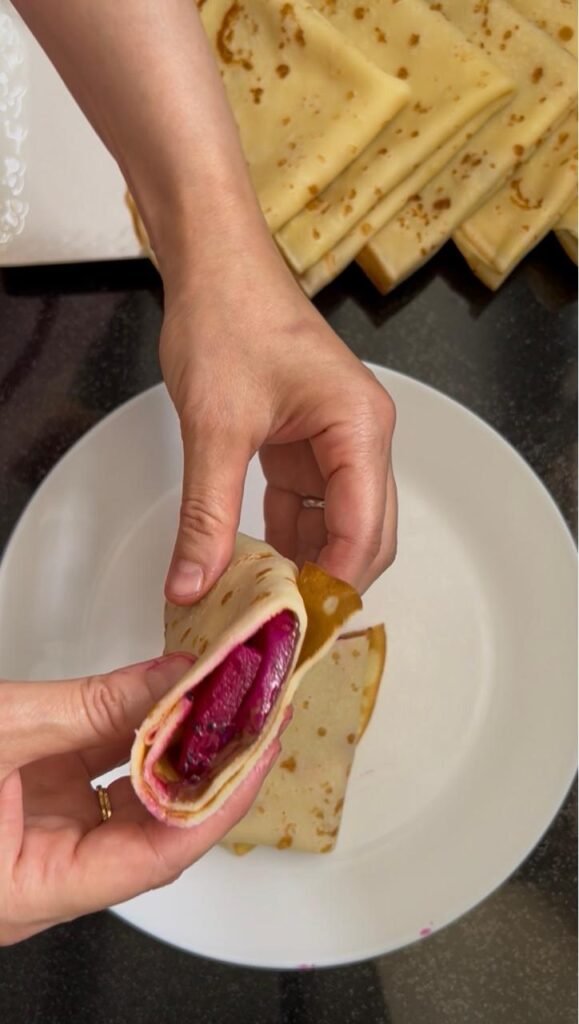
These buttermilk crepes have become a weekend fixture in this house, usually spread with chocolate and folded around fresh fruit before they even make it to the table. If you like this kind of soft, lightly sweet breakfast, my fluffy buttermilk pancakes use the same buttermilk trick for a thicker, fluffier result. You can also watch me make these buttermilk crepes on YouTube – seeing how thin the batter pours makes it click faster than any written instruction.
Buttermilk Crepes
Ingredients
Method
- In a large bowl, whisk together the eggs, salt, sugar and vanilla extract until the sugar begins to dissolve.
- Pour in the buttermilk and water and whisk until fully combined. The batter will look thin, which is correct.
- Add the flour gradually, whisking to avoid lumps. For the smoothest batter, blend it in a mixer or blender for a few seconds.
- Stir in the cooled melted butter until the batter is uniform.
- Let the batter rest for 15 minutes so the flour hydrates and the gluten relaxes.
- Heat a non-stick skillet over medium heat. Pour in a ladleful of batter and immediately swirl the pan to coat the bottom in a thin even layer.
- Cook for 1 to 2 minutes until the edges lift and the bottom is golden, then flip and cook the other side briefly.
- Stack the finished crepes on a plate to keep them warm and soft. Repeat for all 8 crepes.
Notes
Rest the batter at least 15 minutes. Skipping this is the main reason crepes turn out rubbery.
The first crepe is a test while the pan finds its temperature. Adjust the heat and keep going.
No buttermilk? Add 1 tablespoon of lemon juice or vinegar to 2 cups of milk and let it sit 5 minutes.
The batter can be made a day ahead and kept in the fridge, which makes the crepes even more tender.