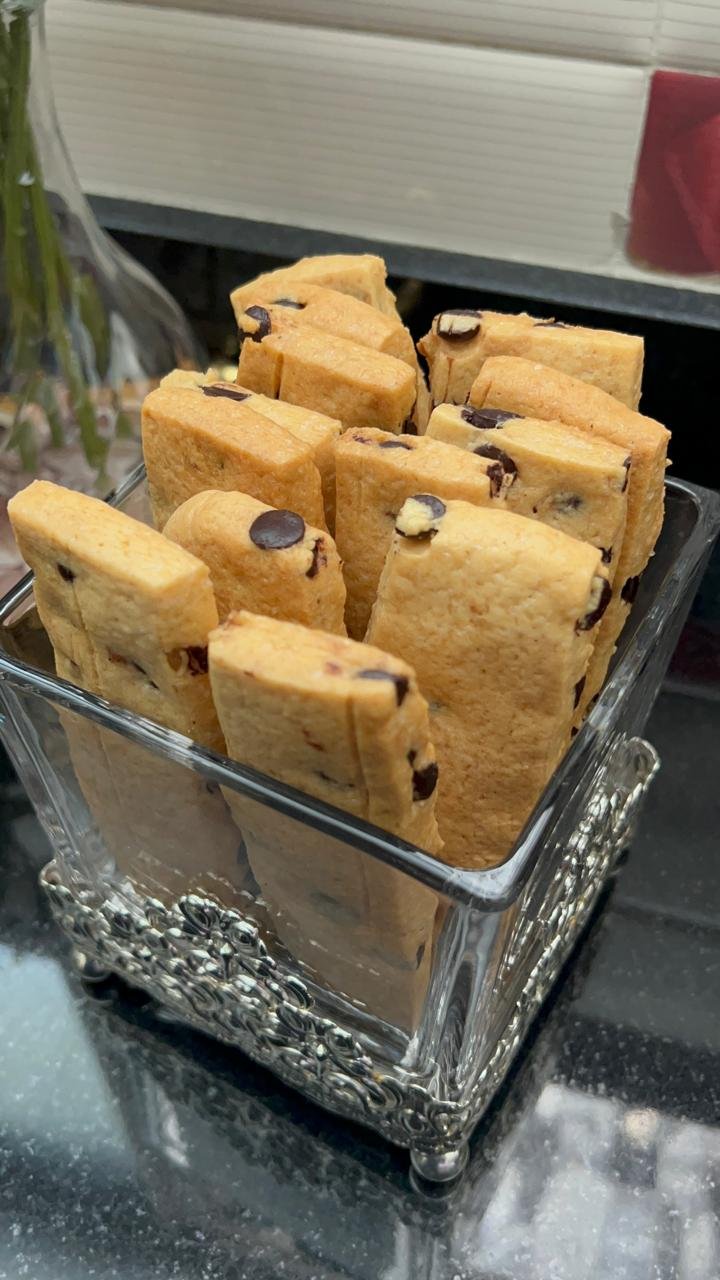
Chocolate Walnut Cookies: Amazing Thin & Crispy, Makes 22
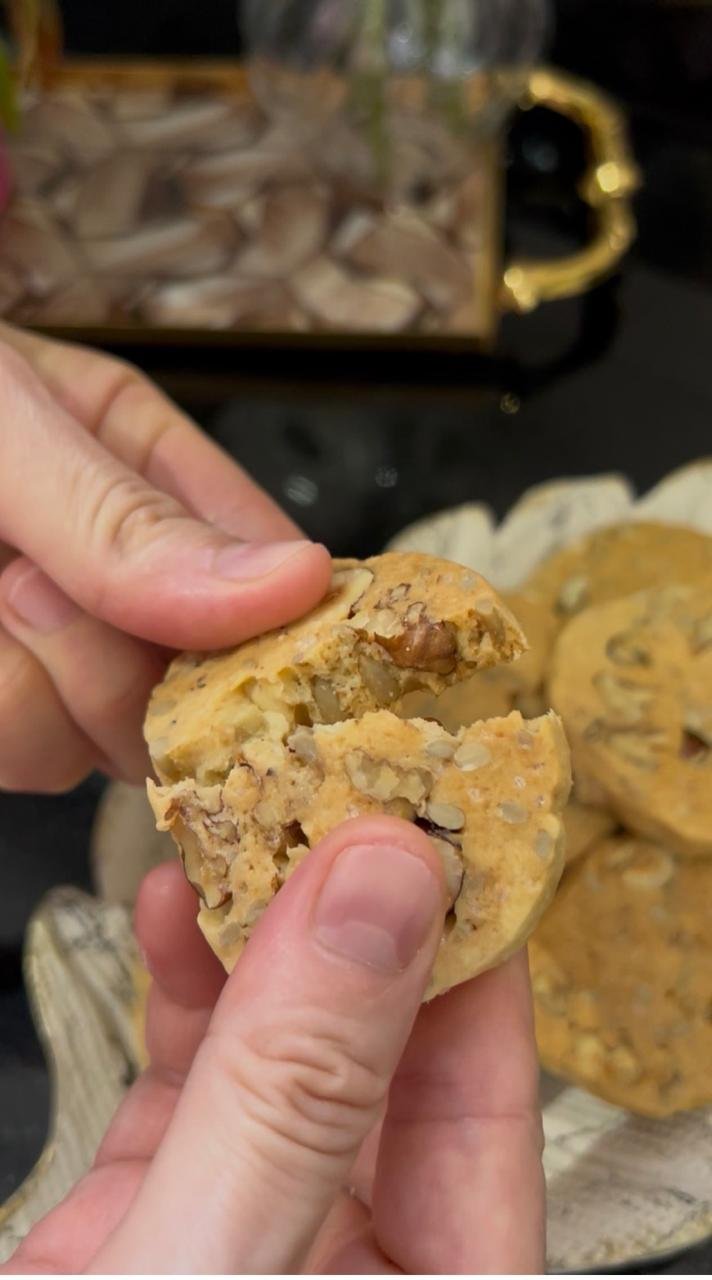
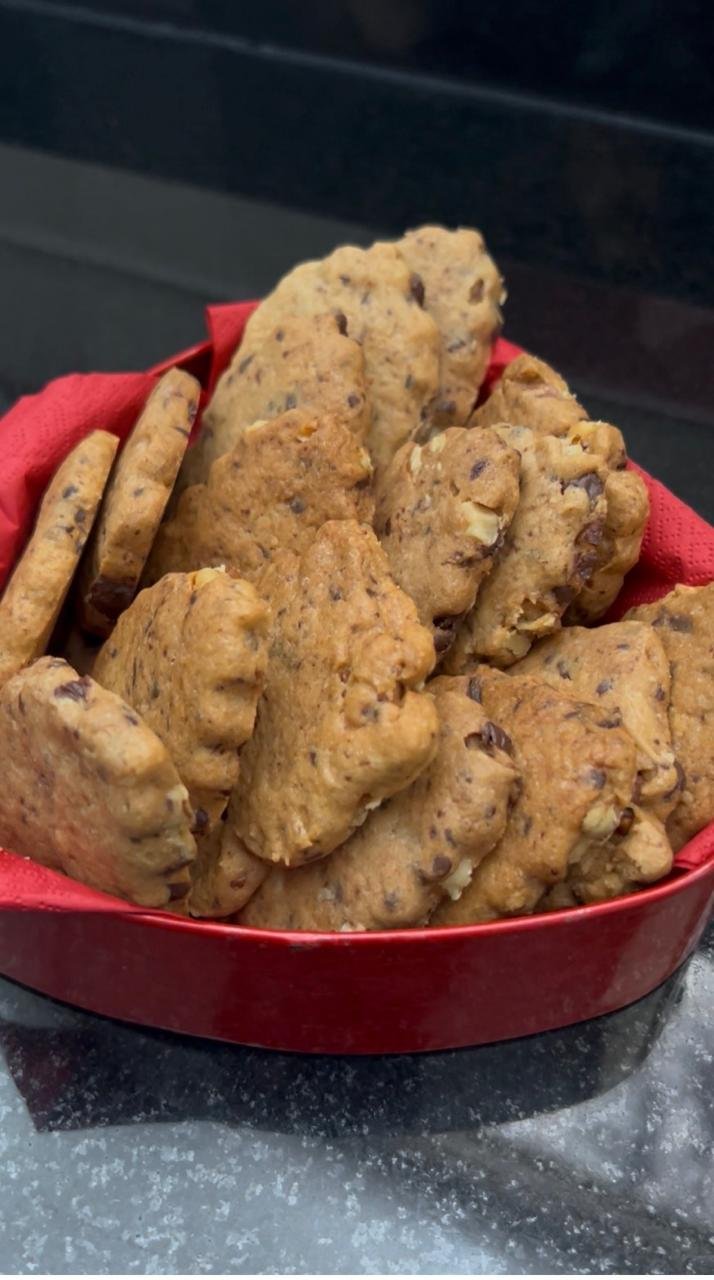
These chocolate walnut cookies bake up thin, golden and properly crisp at the edges, with chunks of chopped chocolate that melt into wide dark pools instead of staying as neat little chips. There are toasted walnuts and green pumpkin seeds folded through the dough, which gives every bite a different texture – soft chocolate, crunchy nut, that slight snap of the seeds. One batch makes twenty-two cookies and with four kids in the house that is exactly the right number. If you like a cookie that shatters slightly when you break it in half rather than bending, this is the one.
Why You’ll Love These Chocolate Walnut Cookies
- They stay crisp for days. Thin chocolate walnut cookies dry out in the good way. On day three they are still snapping instead of going soft and cakey.
- Chopped chocolate beats chips. Cutting a bar into rough chunks means some pieces melt into wide seams and others stay as solid bites. Chips are engineered not to melt, which is the opposite of what you want here.
- The pumpkin seeds are the surprise. They add a green flash of color and a firm little crunch that walnuts alone do not give you.
- One bowl, no mixer required. The butter is worked by hand with the sugar and the whole dough comes together in one bowl.
Ingredient Notes
| Ingredient | What to know |
|---|---|
| Butter | Use it soft but not melted – it should give under your thumb and still hold its shape. Melted butter makes the cookies spread even faster and go greasy. Take it out of the fridge about an hour ahead. |
| Chopped chocolate | Buy a bar and chop it yourself into rough uneven pieces. Do not substitute chocolate chips – they contain stabilizers that stop them melting, and the wide dark seams are the whole point of this cookie. |
| Walnuts | Toast them in a dry pan for 4 to 5 minutes before crushing. Raw walnuts taste flat and slightly bitter in a sweet dough. Toasting takes five minutes and changes the whole cookie. |
| Pumpkin seeds | Use raw unsalted green pumpkin seeds, not the roasted salted snacking kind. Salted seeds fight the sugar and the color is duller. |
| Vanilla sugar | If you cannot find it, use 1 teaspoon of vanilla extract instead and reduce nothing else. Vanilla sugar is common in Europe and sold in small sachets, but extract does the same job here. |
How to Make These Chocolate Walnut Cookies – Step by Step
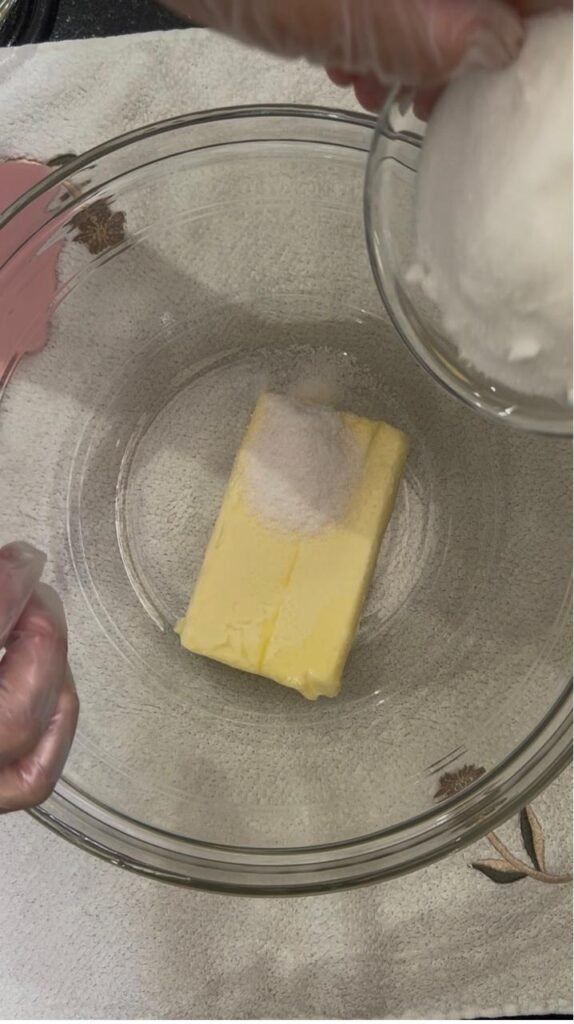
Start with soft butter and sugar. Put the butter, sugar, vanilla sugar and salt in a large bowl and work them together until the mixture lightens and looks creamy (see photo). You are not just mixing here – you are pushing air into the butter, and that air is what keeps the cookie from turning into a solid slab.
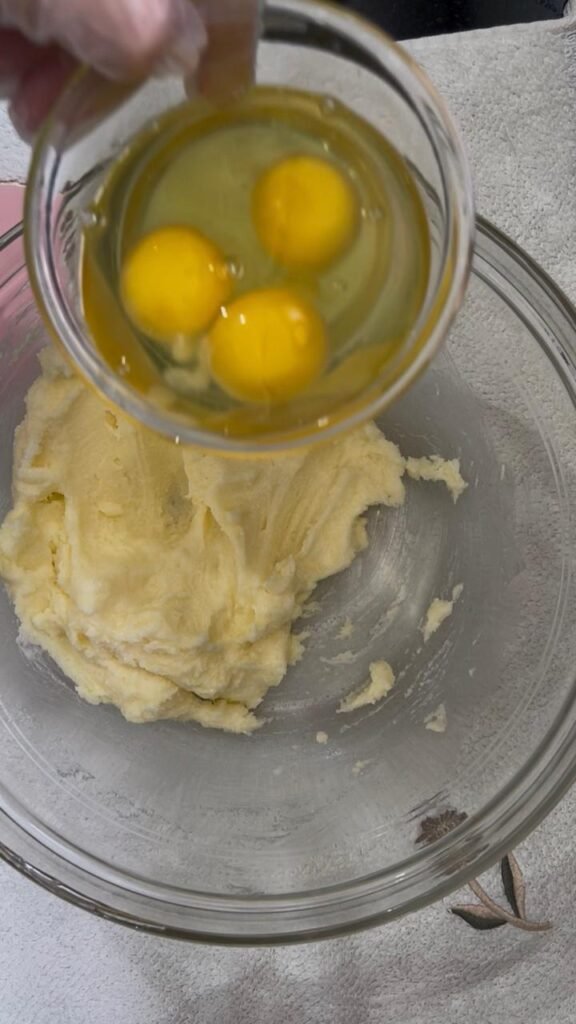
Add the eggs one at a time. Crack all three into a separate bowl first, then add them gradually to the butter mixture (see photo). Adding them all at once can split the mixture because cold eggs seize the butter. If it does look curdled, keep working it and it will come back together once the flour goes in.
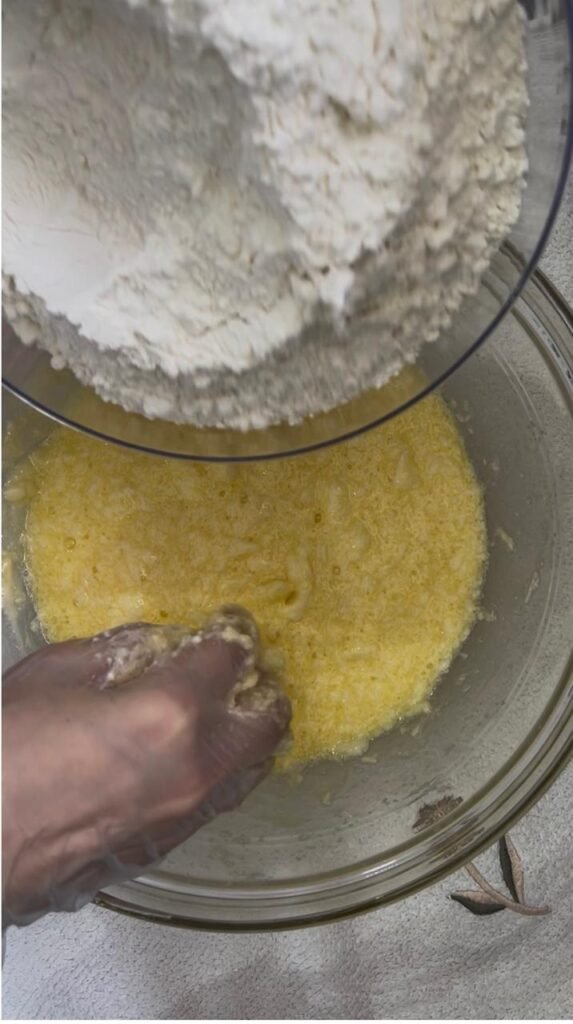
Add the flour and baking powder gradually. Tip in the flour in two or three additions rather than all at once (see photo). This keeps the dough from going lumpy and stops you overworking it. Stop mixing the moment you no longer see dry flour – past that point you are developing gluten, which makes the cookie tough rather than crisp.
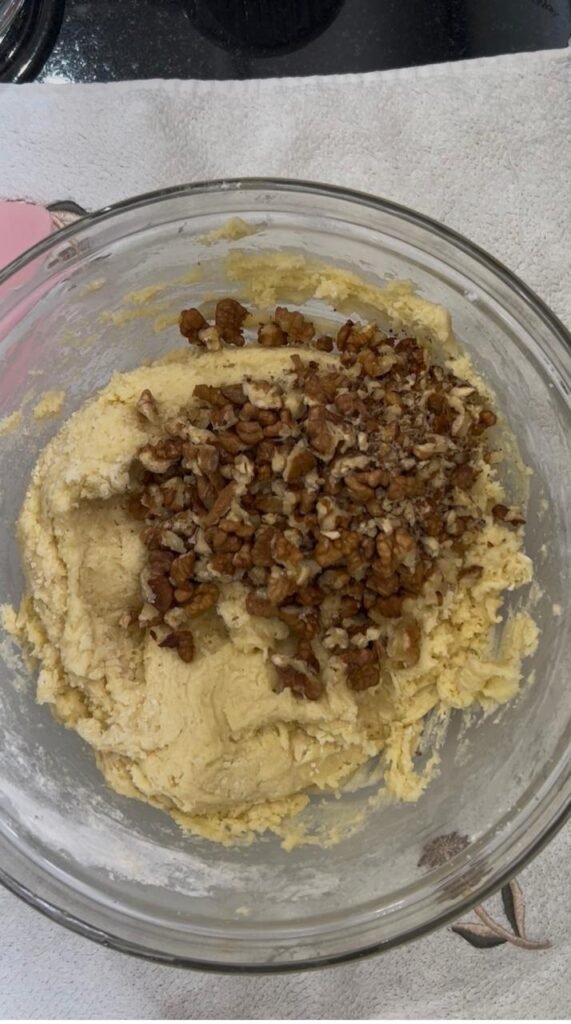
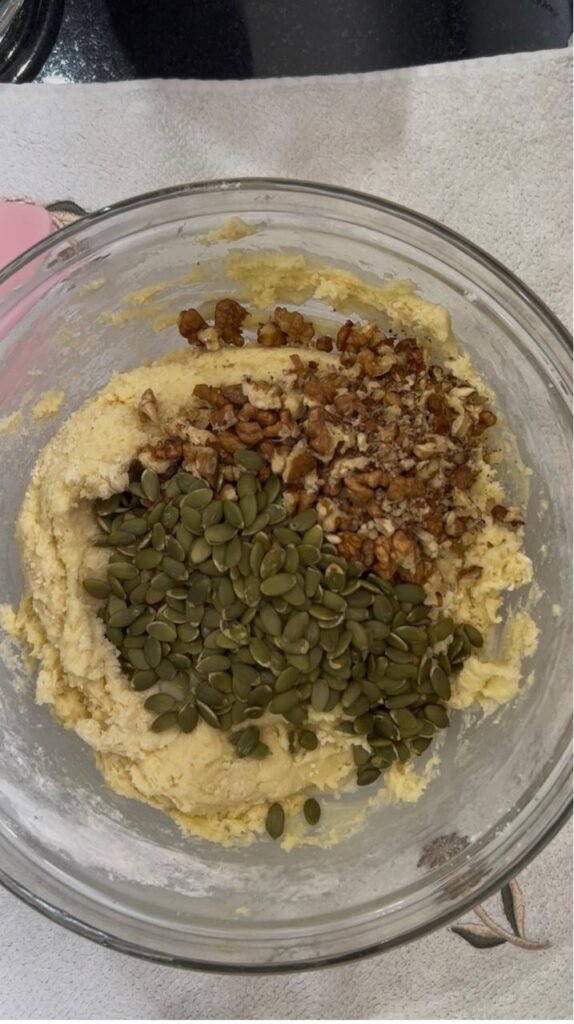
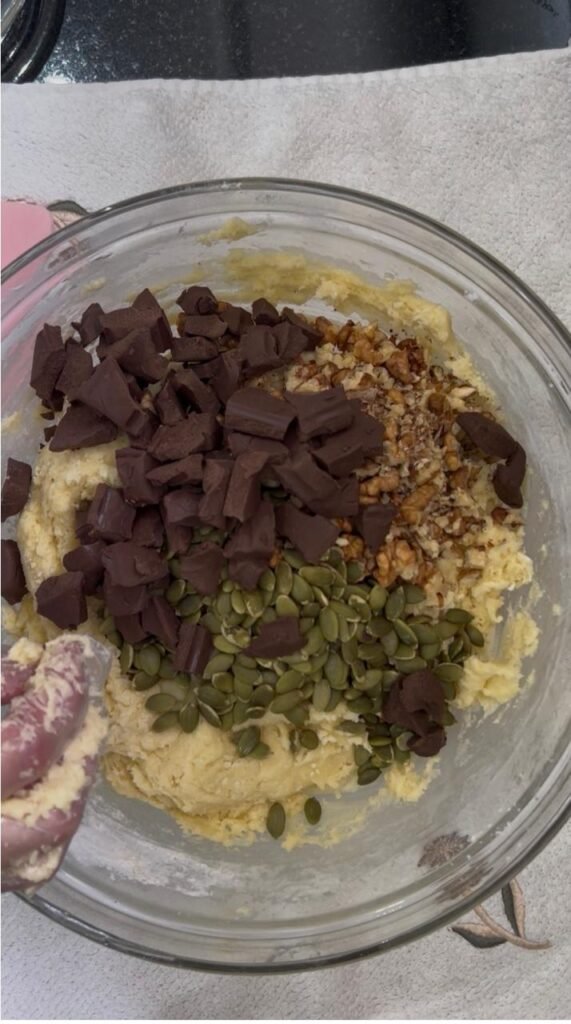
Fold in the walnuts first, then the seeds, then the chocolate. Adding them in stages rather than dumping everything in at once means they distribute evenly (see photo). The chocolate goes last because it is the most fragile – the more you stir it, the more it breaks into dust.
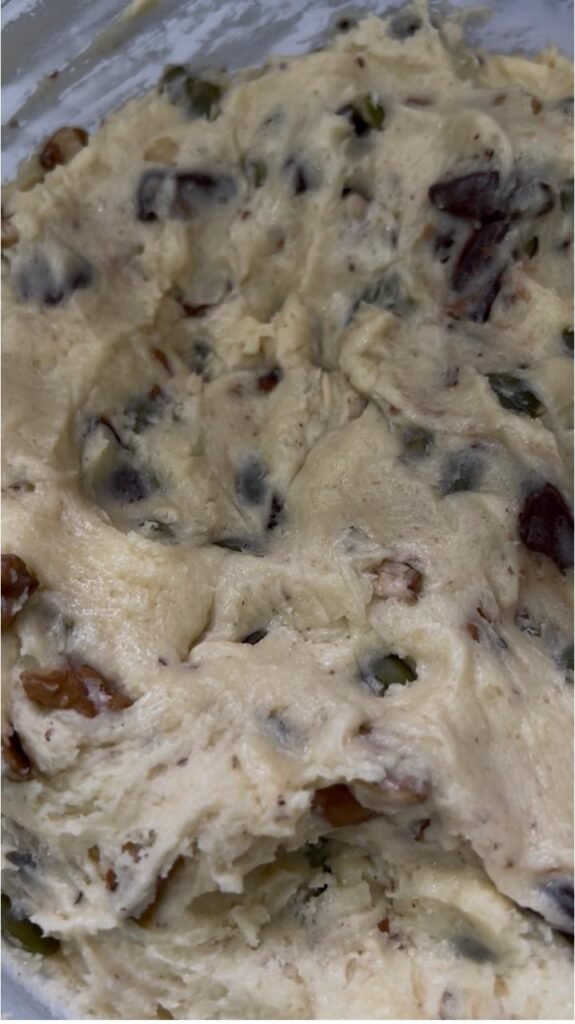
Shape twenty-two balls and flatten them. Roll the dough into balls roughly the size of a golf ball, space them well apart on a parchment-lined sheet, and press each one down gently (see photo). Give them real room – four across a standard sheet is plenty. These cookies spread a lot and they will run into each other if you crowd the tray.
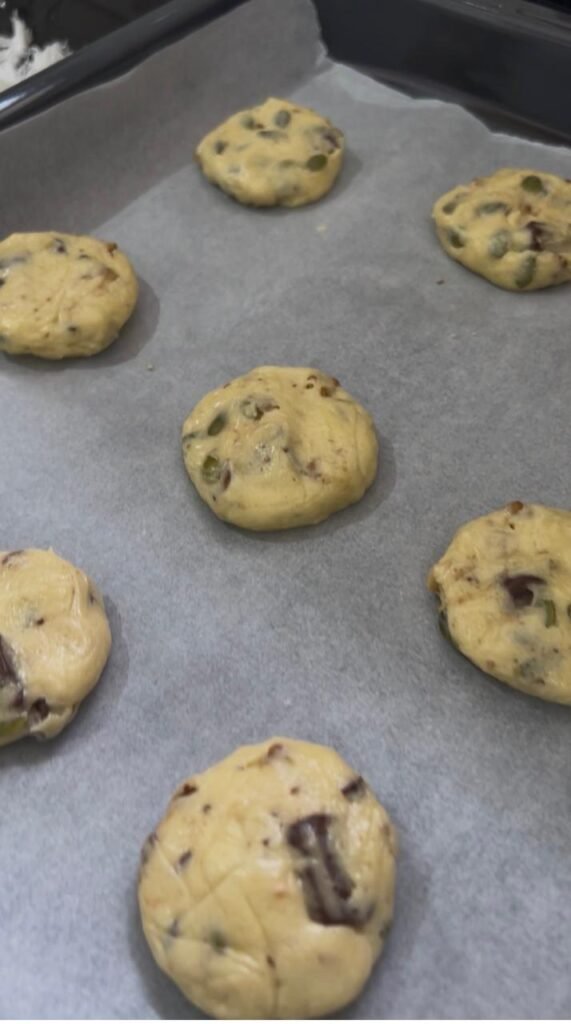
Bake at 300°F (150°C) for 15 to 20 minutes. The low temperature is deliberate. It lets the cookies spread fully and dry out slowly, which is exactly how you get that thin crisp finish rather than a soft domed cookie. Pull them when the edges are golden brown and the centers still look slightly pale.
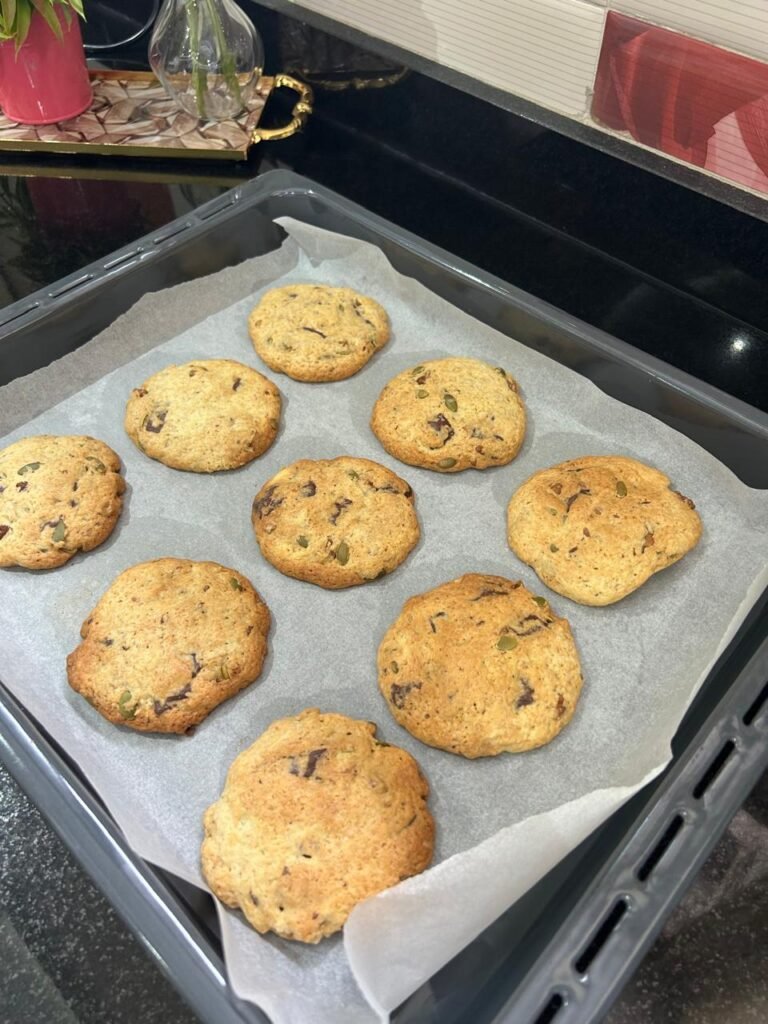
Leave them on the tray for five minutes. They come out of the oven soft and they firm up as they cool. Moving them too early tears them. After five minutes on the hot tray they will lift off cleanly onto a rack (see photo).
My Top Tips for the Best Chocolate Walnut Cookies
- Toast the walnuts. Every time. Five minutes in a dry pan until you can smell them. It is the single biggest flavor upgrade in this recipe.
- Chop the chocolate unevenly on purpose. A mix of large chunks and small shards gives you both melted seams and solid bites in the same cookie.
- If your dough feels very soft, chill it 20 minutes. This depends on your kitchen and your butter. A soft dough spreads more; if you want slightly more control over the shape, a short rest in the fridge helps.
- Bake one test cookie first. Ovens vary more than recipes admit. One cookie tells you whether yours needs 15 minutes or the full 20.
- Rotate the tray halfway through. Most home ovens have a hot corner. Turning the sheet at the 8 minute mark evens out the color.
Do not wait for the centers to look done in the oven. Pull the cookies when the edges are golden and the middle still looks underbaked – they finish setting on the hot tray, and this is the difference between crisp and hard.
Common Problems and Fixes
Why did my cookies spread so much?
These chocolate walnut cookies are designed to spread – that is how you get the thin crisp texture. But if they ran into each other, the butter was too warm or the tray was overcrowded. Use butter that is soft rather than melted, and leave at least two inches between each ball.
Why are my cookies soft in the middle instead of crisp?
They came out too early, or they were too thick. Flatten the balls more before baking and give them the full 20 minutes. Also remember they crisp as they cool – a cookie that feels soft straight out of the oven is normal.
Why did my chocolate sink to the bottom?
The chunks were too heavy for the dough, usually because the dough was very soft. Chill it for 20 minutes before shaping, and toss the chocolate pieces in a spoonful of the measured flour before folding them in so they grip the dough.
Can I use chocolate chips instead of a chopped bar?
You can, but you lose the best part. Chips are made with stabilizers so they hold their shape in the oven. A chopped bar melts into wide dark seams through the cookie, which is what makes these look and taste different from a standard chocolate chip cookie.
Storage and Make-Ahead
Store the cooled chocolate walnut cookies in an airtight tin at room temperature for up to 5 days – they actually stay crisp longer than a soft cookie would. Do not refrigerate them, the moisture softens them. The raw dough keeps in the fridge for 3 days wrapped tightly, or you can freeze shaped balls on a tray, transfer them to a bag, and bake straight from frozen with 3 to 4 extra minutes. Baked cookies freeze well too and thaw in about 20 minutes on the counter.
FAQ
Can I make these chocolate walnut cookies without pumpkin seeds?
Yes. Replace them with an extra half cup of walnuts, or use pecans, sunflower seeds or chopped almonds. The seeds add color and a firmer crunch, but the cookie works without them. Keep the total volume of add-ins the same so the dough balance does not change.
Why bake cookies at 300°F instead of 350°F?
The lower temperature gives the dough time to spread before it sets, and dries it out slowly. That is what produces a thin, evenly golden, crisp cookie. At 350°F the structure sets faster and you get a thicker, softer cookie with a chewier center.
How many cookies does this recipe make?
Twenty-two cookies from one batch of dough. They spread quite a bit, so you will need two or three baking sheets, or bake in batches. Do not try to fit more than eight or nine on a standard sheet or they will merge at the edges.
Can I halve the recipe?
Yes, and it halves cleanly except for the eggs. Use one whole egg plus one yolk instead of one and a half eggs. The dough will be slightly firmer, which is fine – it just spreads a little less.
Nutrition information is not included for this recipe. Values vary widely depending on the brand of chocolate, the type of butter and the exact size of your cookies.
These chocolate walnut cookies have become one of the things I bake when I want something that will still be good three days later – with four kids around, that is rarely tested, but the theory holds. If you like this kind of nutty, not-too-sweet baking, my orange almond cake works on the same principle of letting the nuts carry the flavor. You can also watch me make these chocolate walnut cookies on YouTube – seeing how thin the dough spreads makes it click faster than any written instruction.
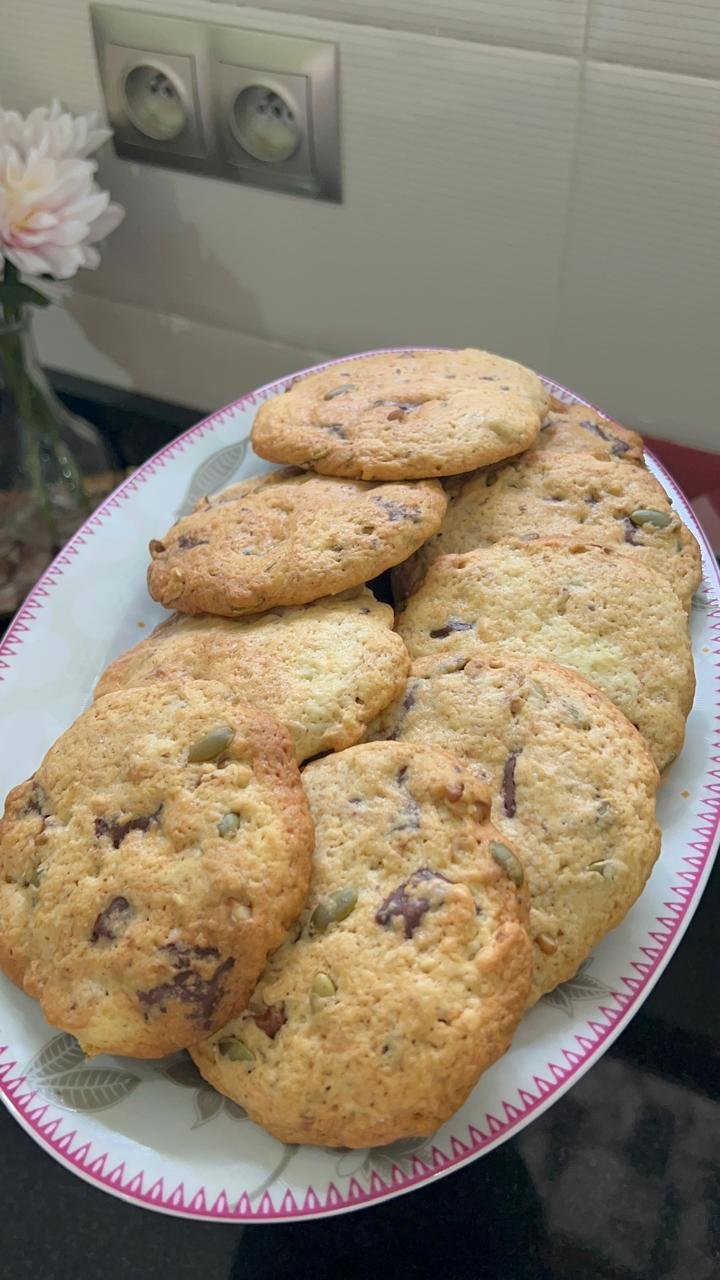
Chocolate Walnut Cookies
Ingredients
Method
- Preheat the oven to 300°F (150°C) and line two baking sheets with parchment paper.
- Toast the crushed walnuts in a dry pan over medium heat for 4 to 5 minutes until fragrant, then set aside to cool.
- In a large bowl, work the softened butter with the sugar, vanilla sugar and salt until the mixture is pale and creamy.
- Add the eggs gradually, mixing until the dough is smooth and well combined.
- Add the flour and baking powder in two or three additions, mixing just until no dry flour remains.
- Fold in the toasted walnuts, then the pumpkin seeds, then the chopped chocolate, until evenly distributed.
- Shape the dough into 22 equal balls, place them well apart on the lined sheets and flatten each one gently.
- Bake for 15 to 20 minutes until the edges are golden brown and the centers still look slightly pale.
- Leave the cookies on the tray for 5 minutes to firm up, then transfer to a rack to cool completely.
Notes
Use a chopped chocolate bar, not chips. Chips contain stabilizers that stop them melting into the dough.
These cookies are designed to spread. Leave at least two inches between each ball or they will merge.
If your dough feels very soft, chill it for 20 minutes before shaping for slightly more control over the shape.
Bake one test cookie first to check the timing for your oven.